The Configuration of GlassFish server on Eclipse could be very challenging, but with the
following instruction be rest assured that your are going to have a smooth sail.
Download glassfish server here
Extract glassfish 3.1.zip into C drive.

Configuring glassfish on Eclipse
Lunch Eclipse Application from C drive.

Note: You must connected to the internet to do the following:
- Click on the help menu, click Eclipse Marketplace to arrive at the market place.
- Search for glassfish and Click install to install glassfish pluggin.

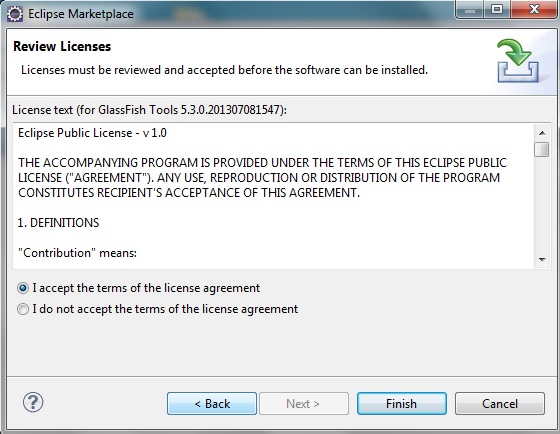
Select glassfish and click next until the installing is finished.

click on start to restart eclipse.

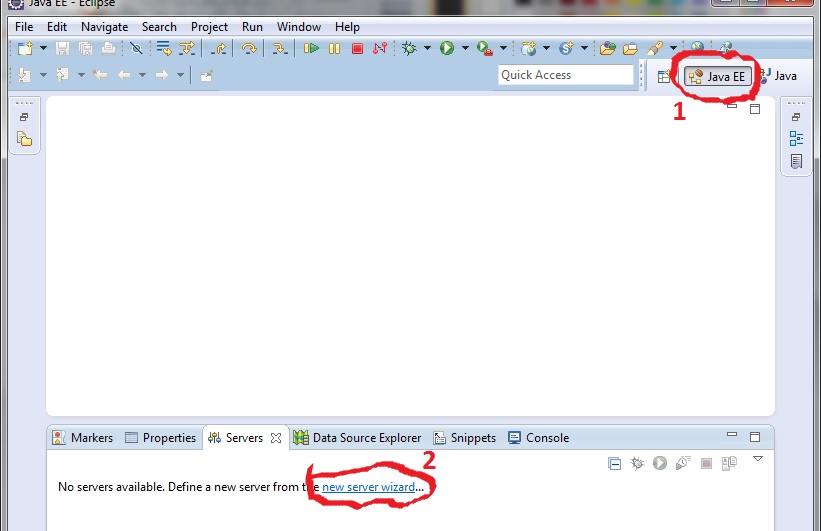
Ensure that 1 in the illustration appears as Java EE, otherwise, click on windows menue--->>open perspective--->>Java EE.
In the server section at the lower end, click on "new server wizard"
select glassfish 3.1 and click next.

click on "install JRE preferences to create a new JRE"

click on add
Select Standard VM as the type of JRE to add to workspace and click finish.

Select Jdk 1.6 as the installed JRE and uncheck Jre6 and click ok.

click directory and navigate to the java home directory as show below..
click finish.

Click OK.

click next

The Glassfish server is then displayed under the server tab at the bottom. Right click on it and click on start to start it.

At this point, we have our glass fish server up and running. In my next post, we will build a simple Spring application to out a string. After that will then go ahead to build a more robust application that can create, read, update and delete (CRUD).
No comments:
Post a Comment