Introduction
Here I will explain how to set-up a typical environment to
develop Spring based applications. There is no prerequisite to this
tutorial other then a working Windows PC client with sufficient CPU
power and memory. We will need to install the
following components:
- Java 6 JDK
- Eclipse IDE for Java EE Developers (Juno)
- GlassFish 3
You can download the Java JDK from here. Select the Java JDK that matches your PC operating system specification and download install.
Setup the System environment variable
1. Right click on My computer and select properties.

2. Click on Advance system settings.

3. Click on environment variables.

4. Set JAVA_HOME
Click on the "New" button under the system variables section. set the variable name to JAVA_HOME
A)

B)

5. Navigate into the java installation folder down to the bin folder, copy the address as in 4 B above and paste it in variable value as shown below.

Note
Don’t include the \bin folder, just the JDK path. For example
- Correct – C:\Program Files\Java\jdk1.6.0_2
- Wrong – C:\Program Files\Java\jdk1.6.0_2\bin
6. Click ok.
7. Update PATH
In System variables, find PATH, clicks edit and append this %JAVA_HOME%\bin to the end.

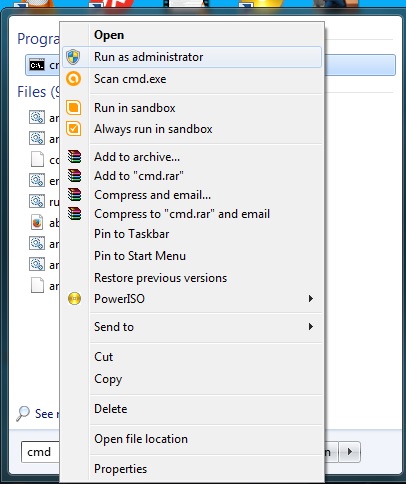
8. Test if the configuration is success by clicking on the start menu and type "cmd". When the cmd program is shown in the search result right click on it and run as administrator.
9. Type javac command in the command prompt and hit enter key

If the result is as shown below, then the configuration is successful.

Download Eclipse here
Click Juno Packages on the releases section and download on the appropriate setup from the download links section. Extract and place in C drive.

No comments:
Post a Comment